The scenario is a familiar one. You buy a piano and fall in love with it, spending hours and hours in blissful symbiosis and melody-making when suddenly, horrors! You discover that a piano key is stuck. What happened? What can be done about it?
There is a variety of reasons why your piano key might get stuck. This article will review the most common ones, by descending order of frequency, as well as offer solutions to get your instrument back in working condition. A caveat: ThePiano.SG does not accept any responsibility if your piano becomes damaged. Any rectification is done at your own risk, so if you are not confident, consult a piano technician.

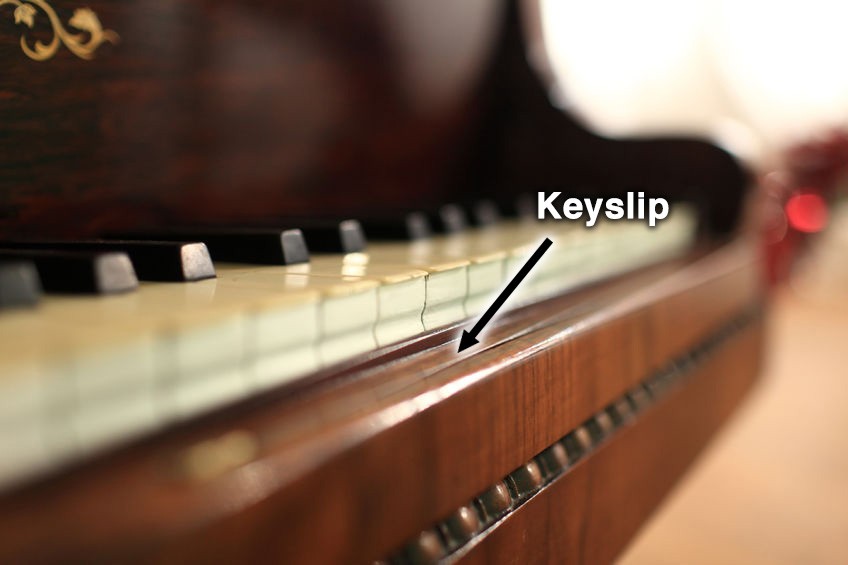
The keyslip is the long piece of wood located right below the keys. Swelling of the wood may happen, especially in regions of high humidity. Sometimes, a player leaning forward may press against the keyslip, causing it to push itself towards the keys. Either way, a key may get stuck to the keyslip. To rectify this, simply grip the keyslip and pull it forward. Occasionally, you may need to loosen the screws under the keybed and place cardboard shims (easily created by folding business cards) between the keyslip and endblocks. The intention is create some space between the keyslip and the keys.
Reason 2: Things get wedged between the keys
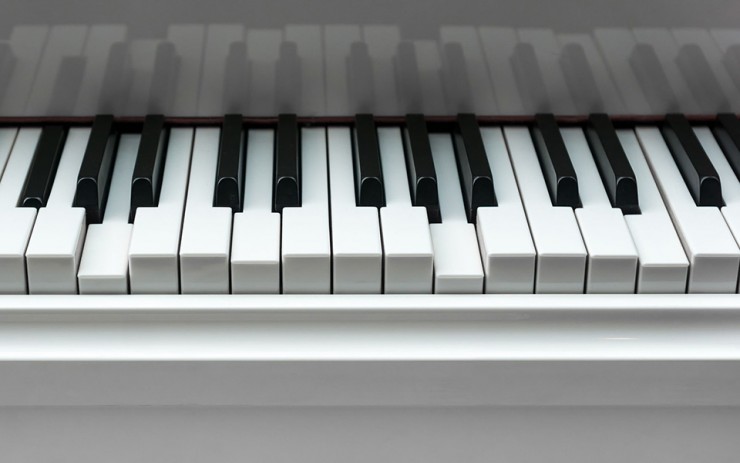
Oftentimes, people may drop pieces of food or other small objects on the keyboard, causing them to become lodged between the keys. Sometimes, the culprits are children, who shove coins into the crevices. Remove an unwanted object from between the keys with an opened-up paper clip or a knife, or blow it out with canned air.
Reason 3: Things get stuck under the keys
If a foreign object ends up under a key, it will warrant an examination of the piano interior. You will need to remove the lid, followed by the music shelf, the fallboard and the fallstrip. Use a screwdriver for this. You may want to label the screws as you remove the parts so as not to mix them up. Once the disassembling is complete, look above and below the key for anything foreign. Holding the back of the key firmly, use your other hand to lift the front end about 1/2 inch or 12mm. Shake it gently, then reinstate it in its original position. Assemble the piano in the reverse order in which it was disassembled.
Reason 4: Tight bushings
Hidden from the pianist are two holes in every piano key, through which metal pins run: one in the centre of the key, and another near the front. These metal pins, known as the balance rail pin and the front rail pin, help to hold the key in place as it goes through its vertical motion. Attached to the sides of the holes are thin felt bushing cloth, also known simply as bushing.
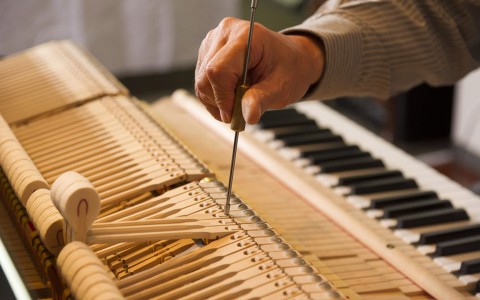
Owners of new pianos may have encountered resistance when pressing the keys. The condition is likely to be weather-induced; humidity may cause the bushing to expand. Experienced piano technicians can fix this problem easily by removing the key and using a special tool to compress the felt. Sometimes, easing (adjustments) can be done using a screwdriver. However, this has to be done gently, especially if it concerns the front rail pin.
In contrast to newer pianos, older pianos have a completely different set of challenges. In such instruments, years of playing cause the rail pins to wear away the felt. This condition is very visible when one examines the key sticks. Deep indentations are indications that it is time to completely remove and replace the bushing.
Experienced piano technicians carry out this procedure cautiously. The worn-out bushings are first removed. Then, new bushing, measured exactly to accommodate the pins that will pass through the holes, is attached. Animal hide glue is applied to the felt, while specially-designed cauls hold the new bushing in place. Care must be taken so that no excess felt is protruding from the hole. Provided the above has been done properly, little easing of the new felt will be required subsequently.
Occasionally, problems arise because of the rail pins, which become corroded or worn out after years of play. You might have to replace the pins, or simply polish them to smoothen them.
Reason 5: Swollen keys
Piano keys are made of wood and, like felt, are susceptible to humidity, which makes them swollen. If a white key is unresponsive, press it, together with one of the adjacent keys, and gently separate them with a screwdriver. Ensure you use a screwdriver with a thin tip for this process, so as not to damage the keys. The same technique can be applied to loosen a swollen black key. Be extra careful with a black key, though, as it is fragile.
Reason 6: Tight sluggish parts
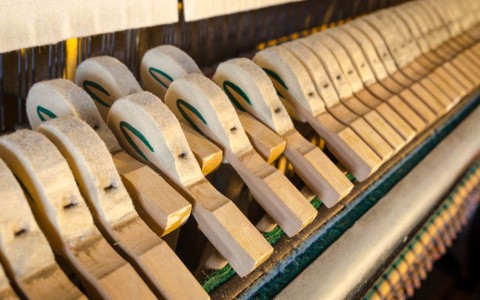
Each key of your piano is connected to a jack flange, which is in turn connected to a hammer flange. When the key is pressed, it raises the sticker and whippen. The whippen activates the jack, which in turn pushes the hammer butt. The butt moves the hammer towards the string, eliciting a note. Both the jack flange and the hammer flange have a centre pin. Sometimes, the pins become too tight, resulting in heavy actions and slow mechanical response. When this happens, you might have to change the centre pins.
Reason 7: Break in the balance tail along the key stick
Due to wear and tear, a fracture may develop in the balance rail pin. If this break is serious enough, the key stick might bend and the back of the key will not go up as the front of the key is pressed. It would be prudent at this juncture to replace the entire key stick.
We hope we have helped you understand some of the root causes of your piano keys’ unresponsiveness. Bear in mind that this is by no means an exhaustive list. Remember, if you're ever unsure about anything, do consult a certified piano technician.


